 |
| Stampin Up - My Hero |
What happens at a team meeting you ask? We gather as a group once a month and share business updates, here from group members on ideas they are using in their business or hobby, swap cards (I went home with thirteen different ideas and samples), and stamp make-n-take projects. I look forward to the meeting every month and I am so bummed when I can't make it due to family obligations. How can you attend a team meeting? Join my team and you are invited to join me and our group each month! Now through 3/31 is the best time to join the Stampin' Up! family as the starter kit is on sale for only $99 for $125 worth of products during Sale-A-Bration. In addition to the $125 of products you can pick two free stamp sets (any value) to your kit order.

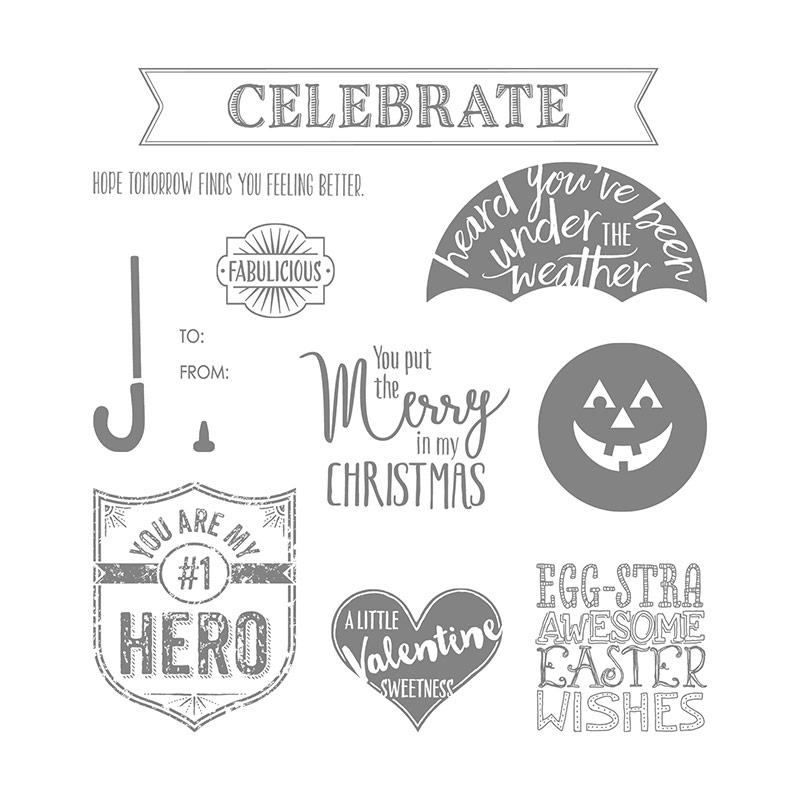
The stamp I used on my project is in the set My Hero which is on the last page of the Annual Catalog and is a very special stamp set. Stampin' Up! corporate donates a portion of the proceeds for every stamp set sold to the Ronald McDonald House Charities. Here are all the stamps in the set:

Do you want to make this card at home?
1. Score a piece of 8.5 by 11 Basic Black cardstock at 4.25" and then cut it in half at 5.5" to get two card bases. Put one card base aside for another project.
2. Cut a piece of Whisper White cardstock to 4" by 5 1/4"
3. Emboss the Whisper White cardstock piece with the Polka Dot embossing folder and your Big Shot
4. Cut a piece of Basic Black cardstock to 2" by 5" and punch one end with the Banner Triple Punch
5. Cut a piece of Gold Glimmer Paper to .5" by 4.25" and punch one end with the Banner Triple Punch
6. Cut a Whsiper White cardstock circle from the Stitched Framelits on the Big Shot
7. Stamp the image on a piece of Whisper White cardstock with Crumb Cake Ink
8. Stamp the image on piece of Whisper White cardstock with Memento Tuxedo Ink and cut out the # 1 oval and banner with paper snips
9. Color the hero word and around the border of the badge with a Gold Wink of Stella glitter brush
10. Adhere all the layers together as shown in the photo. I used Tear & Tape Adhesive on the glimmer paper.
Let me know if you have any questions about today's post.
Happy Stampin',
Christine
Supplies:
Stamps: My Hero
Other: Big Shot, Stitched Shapes Framelits Dies, Polka Dot Textured Impressions Embossing Folder, Banner Triple Punch, Gold Wink of Stella Glitter Brush, Tear & Tape Adhesive, Stampin Dimensionals, Multipurpose Liquid Glue

No comments:
Post a Comment